blog header

Showing posts with label cards. Show all posts

August 2, 2012

Stretching our Creativity

Sometimes we need to be stretched a little....
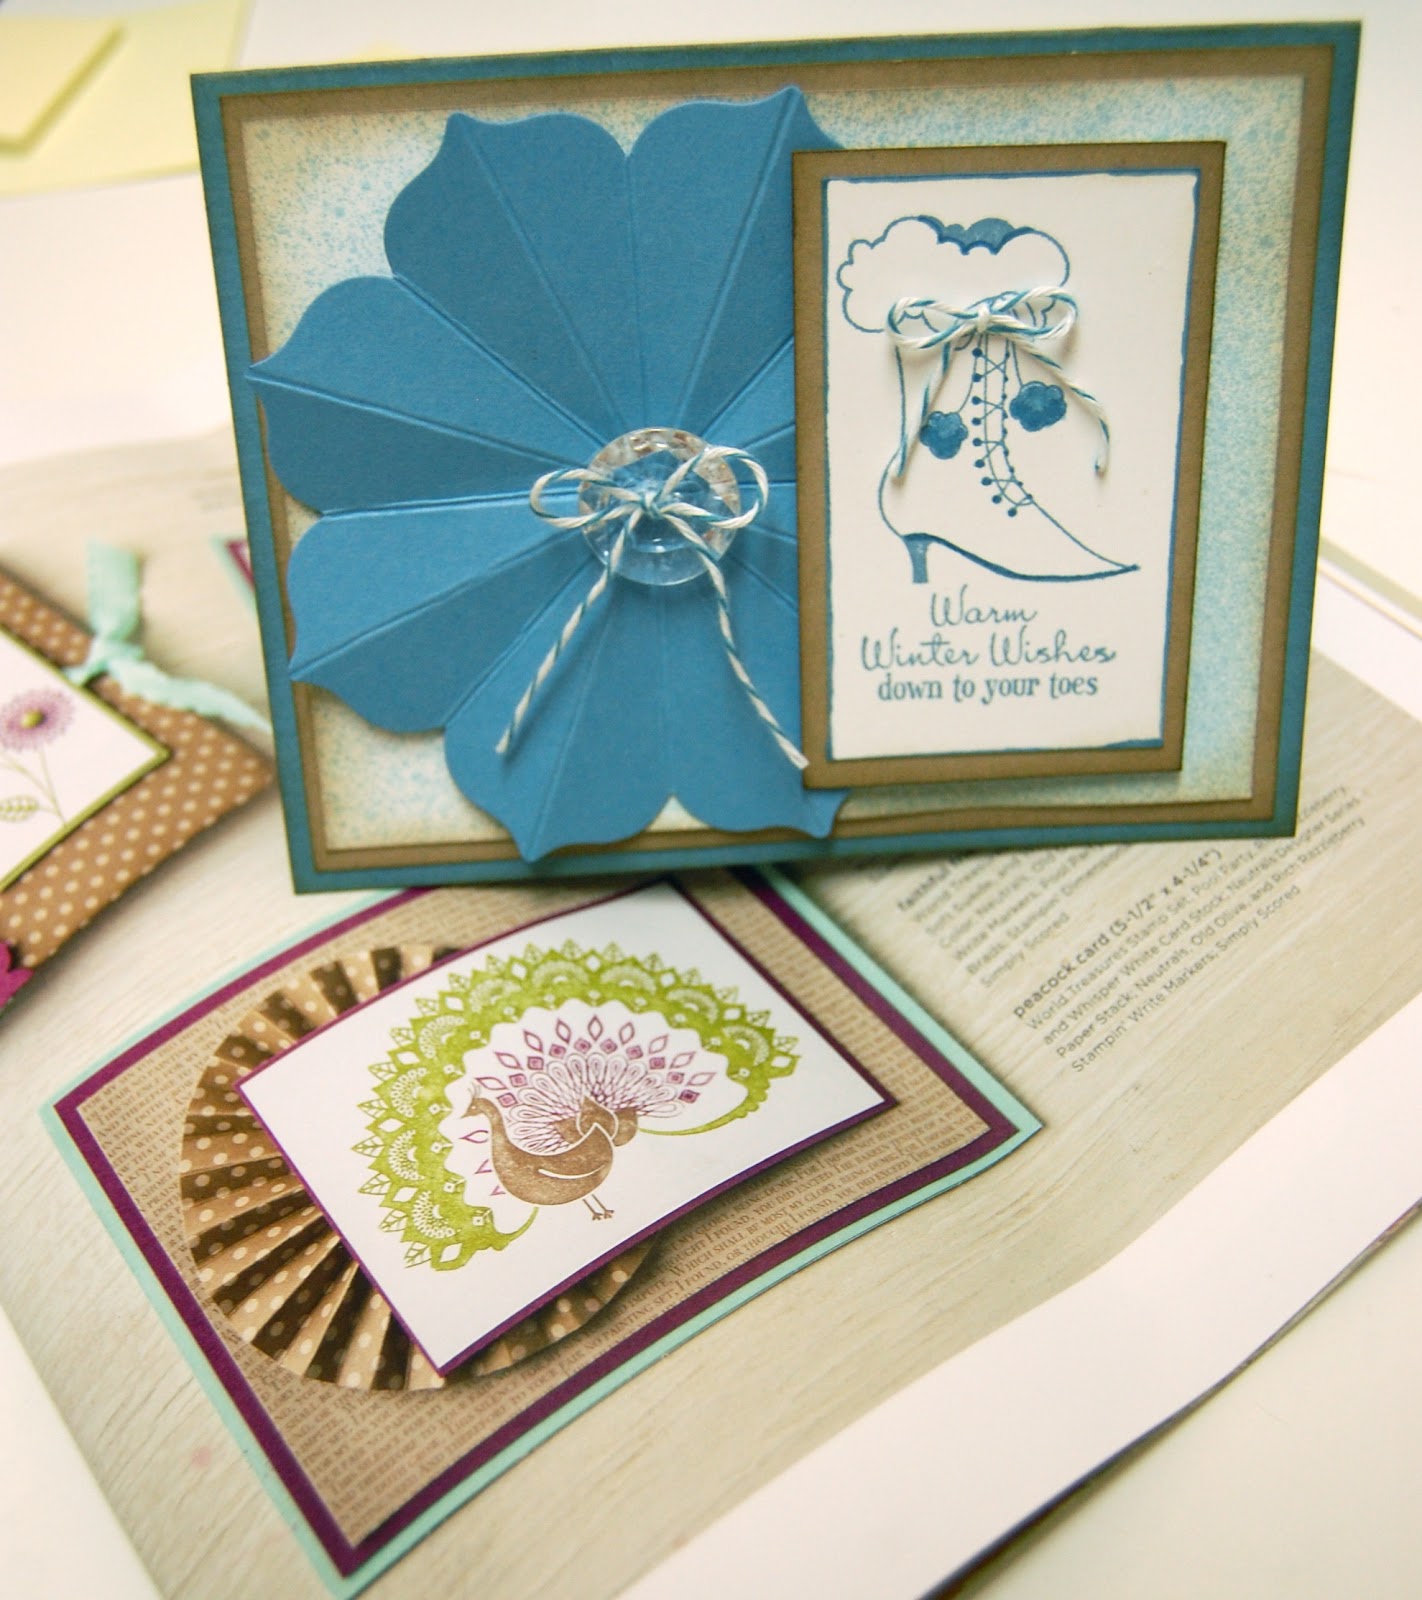
So often I find myself looking for ideas and never having time to make anything. As a demonstrator we get this AMAZING stampin' success magazine monthly and so I challenged my team, at our meeting last Sat, to pick a card layout out of one of our publications and then CASE it (Copy And Share Everything). One catch they couldn't case it exactly they had to use only the NEW supplies I had on the counter.
UGH right?

They rose to the challenge and kicked it's tail!!!
Check out my AMAZING, talented team members designs. I've taken a picture of the card on top of the magazine card they were casing.

Cindy Anderson 


Joan Kennedy 


Kay Roberts

Linda Harris

Vickie Leaman - used a sneak peek set from the Holiday Mini
that we got a convention called Love Always.


Supplies Used - I've done the searching so you don't have to ;) 
To make a purchase just click on the link below "add to bag" then come back here to grab the next one. It's shopping made simple!

August 23, 2011

cards, gifts, layouts and chocolate

At my place this Friday night for Chics & Chocolate! If you missed any of this months classes here's your chance to make them up! Sign up for one or two of the kits below, $10 each, bring your adhesive and something chocolate to share. I'll have coffee (decafe and reg) and hot water for tea.


Card kits have 4 cards (2 of each design) with fun techniques!

(cased and adapted from my sweet friend Jenny)


Scrapbook kit includes the 2nd half of last months layout too!

Gift class is a DVD case with 4 matching cards

Please RSVP here and let me know what I need to cut for you! See ya Friday night :)


July 25, 2011

Did you miss anything special....

If you missed a class in July I'd say so! Check out the samples we created in July using ALL NEW PRODUCTS!!! Spend a fun evening with Chics and Chocolate this Friday, July 29th at 7pm creating any of the projects you missed this month. Let me know which class kits I need to have ready for you. Remember there's a max of 2 class kits per night and I only have 3 spots left.

Card Class Kit: 
Two of each design using the brand new Delicate Doilies Stamp Set!


Big Shot Class Kit: 
One of each project showcasing the exclusive Petite Pocket Die, from the NEW 2011-2012 Idea Book and Catalog, and the must have Designer Frames Texture Folders! If you don't have your copy of the IB&C, you'll want to take it home from Chics & Chocolate!

gift box created with the Petite Pocket die

gift card holder created with the Petite Pocket die

Traditional Scrapbooking Kit:
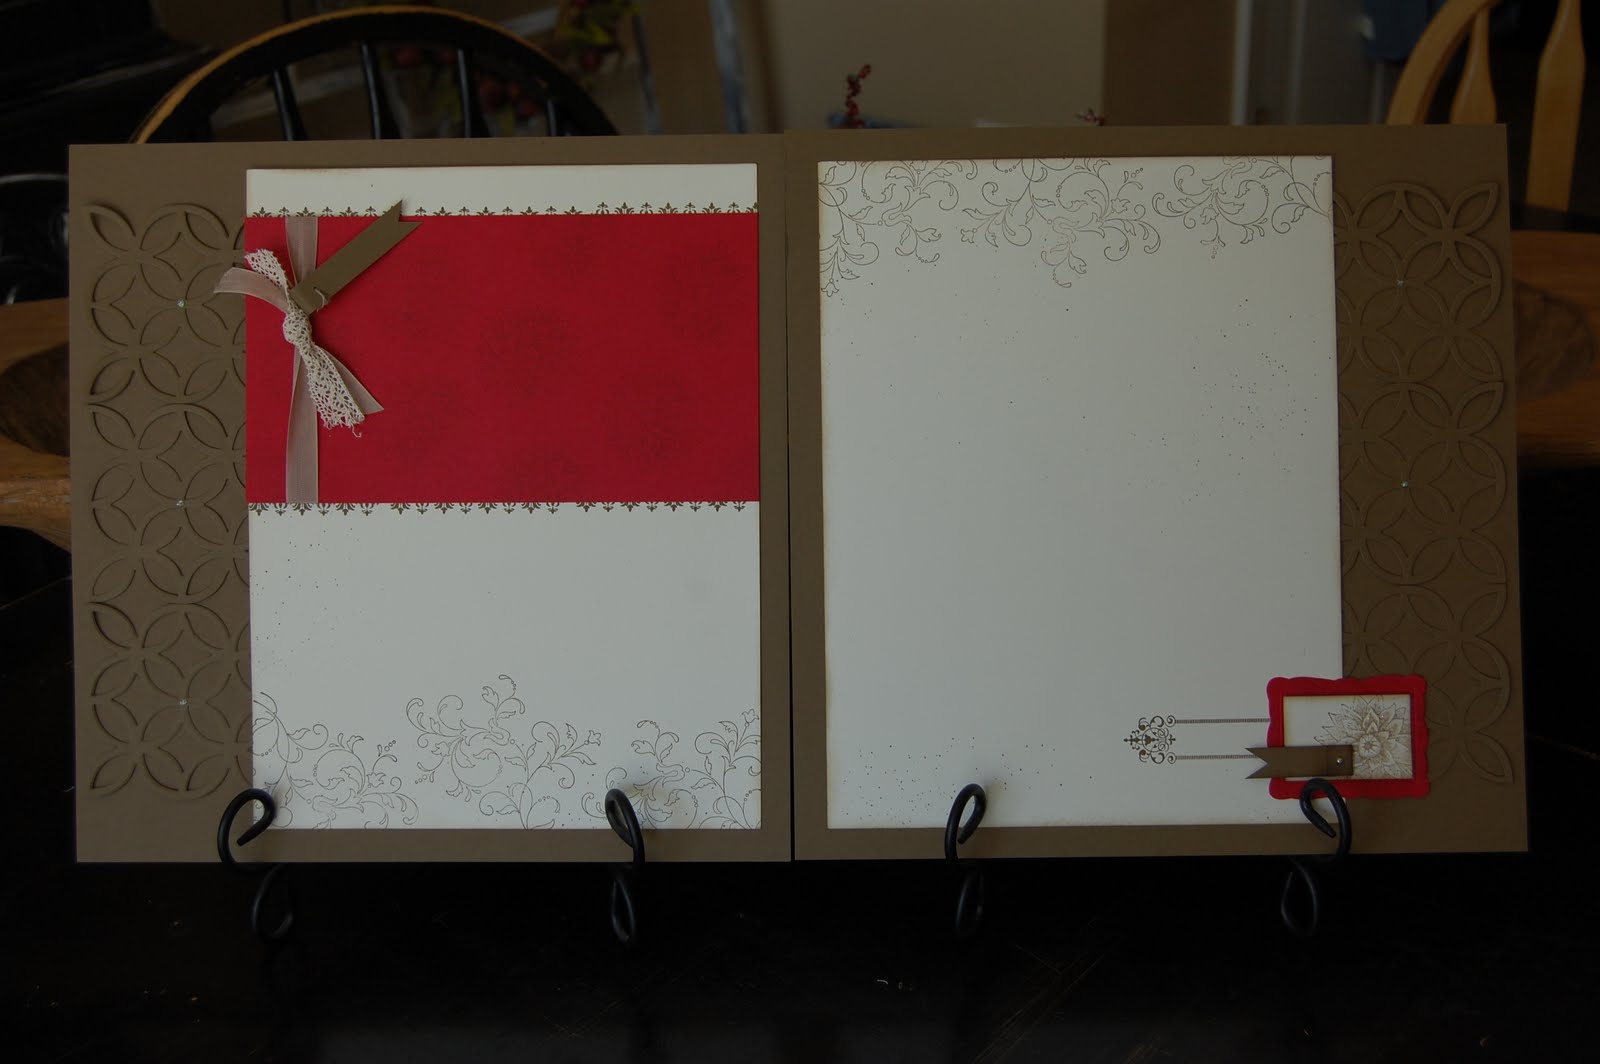
Is always three pages. A vintage, double page layout featuring two NEW stamp sets.....Letter It Alphabet and Best Friends Forever! 


PLUS... the first half of a bright, birthday layout showcasing our new Designer Series Paper (DSP) called Just Add Cake. Don't you just love the fabulous Pennant Parade and the matching PUNCH!!!


 You won't want to miss the other half of this layout during our August Scrapbook Class! 

Her's a quick easy way for you to RSVP for Chic & Chocolate July 29th at 7pm - Please enter your full name in the first name section and the kits I need to cut for in the last name section! 

Or "like" L-inked Together on Facebook  and RVSP there.  


April 27, 2011

past due tutorial

I've had this tutorial of pictures sitting on my computer for awhile now and figured I better share it before this stamp set is gone, with the occasions mini in just a few days.  I'm so sad because this has been my favorite mini EVER!

If you came to scrapbooking class this month you used this stamp set and punch on our pages but I don't think everyone saw HOW we got it ready to stamp and punch.

#1 Start with a 2 1/2 x2 1/2 piece of cardstock and Punch the Blossom Petals Punch. 

#2 place the Petal Stamps rubber side down into the holes form the punch (shown in pic 1&2).


#3 Firmly push the clear block (size D) over the 3 petals.  


#4 Ink the petals in a light color and stamp on a piece of 2 1/2 x 11" strip of paper. You be able to fit 4 of these on this strip of cardstock. However, you'll need 5 sets of petals to complete the flower.  


#5 choose a darker ink color for the smaller petal images to do the TWO STEP part of this flower. 
Using the smaller petals repeat steps #2& #3. 


This will create the 2 step look - slightly off center but so much quicker then stamping them one by one. You'll see the end result is FABULOUS! 


#6 Now place the "mask" you punched in step #1, over the stamped images and stamp your leaf inside the hole with a lighter color green. 


#7 stamp the 2 step image over top after removing the "mask" to create the 2nd layer of the leaf. 


#8 Once you have created 5 sets of these petals and leaves use the punch to punch them all out at once!  


To create the blossom  that looks like this....

Punch a 1 3/4 circle, add 5 pop dots that have been cut in half around the outer edge.  


Apply petals overlapping in the center and curl with a bone folder. 


Use glue dots to attach the next level of petals. 


Here's how I added the leaves to the back with glue dots 


   I had a few extra petals and leaves left over so I added a cut little flower to the inside of this card!!!


I hope you can see how great the Build A Blossom Stamp Set  #121994 clear $18.95 and the Blossom Petals punch #121808 $16.95 work together. If you haven't already, go order it before it's gone! 

Related Posts with Thumbnails